

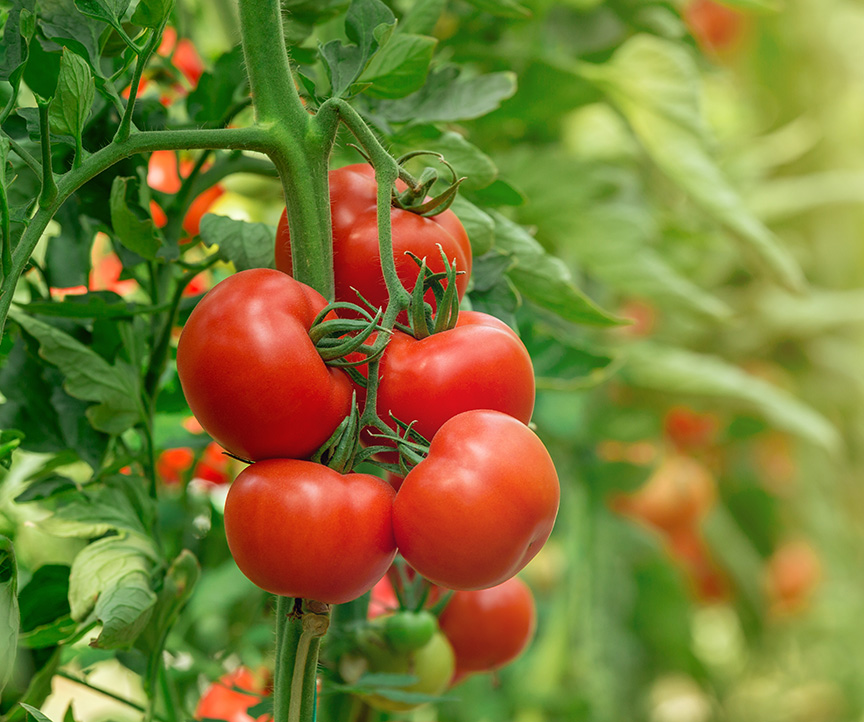
Do you like tomatoes? We cultivate this round, juicy fruit every year in our family garden. If you have never raised tomatoes, here is a little introduction into a big topic.
Growing tomatoes actually starts in the early spring before planting. Select a site that receives seven or more hours of direct sunlight each day. This full sun is essential to your plants’ prolificness.
Once you have chosen a site, begin forming a plot. First collect cardboard. For large plots, slip sheets (big cardboard pieces) complete this step more quickly than flattened boxes. With your cardboard, completely cover your site.
On top of your new cardboard crust, heavily sprinkle aged manure or animal bedding. The manure decomposes your crust and imparts additional nutrition into the soil. It also weights down the cardboard, keeping it from gaining wings and flying away.
Four to five weeks prior to your final frost date, sow your chosen tomato seeds in pots. (The number of weeks varies with varieties.) As the seedlings grow, you may need to transfer them to larger containers. Allow them to mature to 6-8 inches (15-20 cm) tall. They are now ready to transplant.
Before you can transplant, though, you need a support. Not having a trellis increases fruit rot, picking inaccessibility, and vine jumbles. To construct one, you can use canes, panels, or wood. For our trellis, we pound three T-bar posts beside a hog panel, connecting them with wire. While you form your trellis(es), leave space for walking and plants.
When night temperatures are a minimum of 45°F (7°C) and soil temperatures are at least 60°F (16°C), transplanting time has arrived. Begin by digging a hole 7-9 inch (18-23 cm) deep through your cardboard. Shovel a little compost into it. Now place your seedling gently into the hole. Tomatoes relish potassium and calcium. You can supply them with these minerals by placing banana peals (potassium) in the hole and sprinkling bone meal or eggshells (calcium) around the plant. Finally, press dirt carefully around the plant. Leave a few inches of your seedling exposed to the air. The plant’s buried stem will grow roots to help support the plant.
Continue this procedure for each ready transplant. Space the holes 12-15 inches (30-38 cm) apart along your trellis.
After you have put the plants into the ground, gather mulch. Mulch helps the soil retain moisture. Mulch could be plastic, straw, leaves, or grass clippings. Finally, slowly water around the plants. However, do not get water on the leaves because that encourages disease.
Maintaining your tomatoes is fairly simple. Water them enough to ensure moist soil. Prune the suckers if you what to. As your plants grow, tie them to your trellis with string or vine clips.
In 55–100 days after transplanting, depending on your variety, you should harvest your first tomatoes.