

What does it take for a photograph to be successful? That is a question that doesn’t have any one right answer. If you were able to capture a poor picture of a rare bird, and yet the quality was adequate for a positive identification of the bird, that photo would be a success.
In the context of this article, we want to consider the various aspects that make up a pleasing photo, and techniques that can help us achieve those goals. Each component could be an article of its own. Maybe we will. For now, though, we are considering the bigger picture, pun intended, and highlighting a number of things.
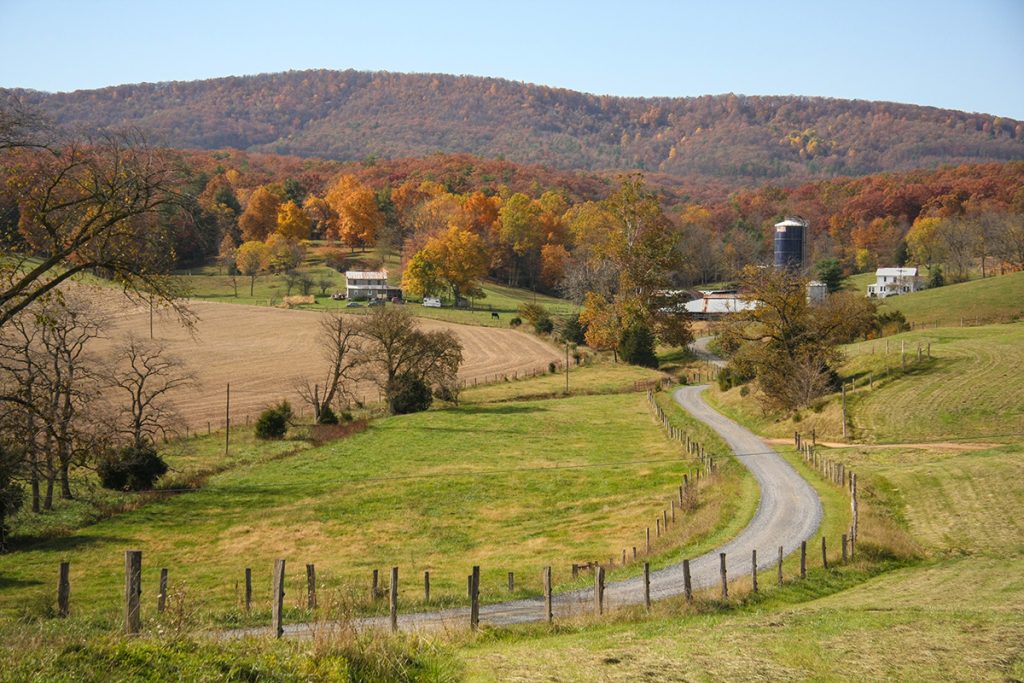
Successful photos typically have foreground, middle ground, and background, though sometimes only a foreground and background. Don’t overlook their importance. Plan for them. Make it happen in an artful way.
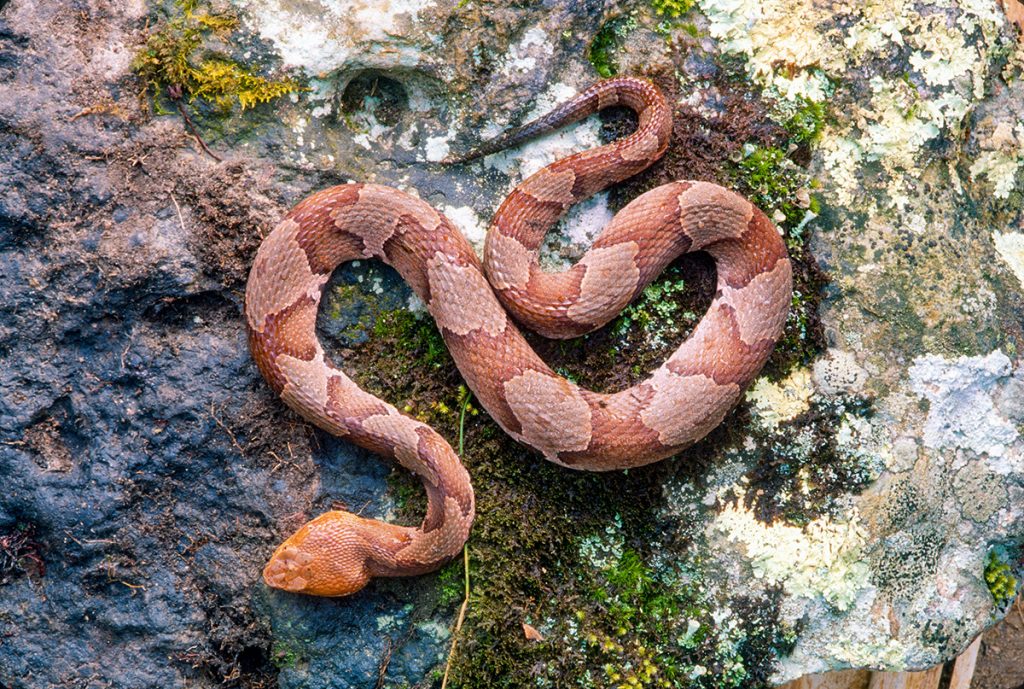
Focus is next. Generally speaking, sharp focus is the goal. If eyes are in the picture, whether a person or an animal, bird, insect, etc., the eye must be sharp. (The snake might be six feet long and only the one inch around the eye is in focus, but the picture is a success on that point. If five feet are in focus but the eye is not in focus, the photo is a failure. This ignores those who believe that any photo of a snake is a failure.)
Sometimes a motion blur is tastefully done, and that is a deviation from always sharp. With that disclaimer, always, always, always use a solid camera support—except for those times when you just can’t.
Nothing beats a solid tripod. Is it clumsy? Yes. Is it a “pain” to dig out/carry/set up? Yes, many times it is.
On this last point, the heavy aluminum tripods we had were just too heavy to realistically carry through the park when looking for fawns and other subjects. Skipping the tripod is not a good choice. A lightweight aluminum tripod is a bad choice if the camera/lens payload exceeds its carrying capacity. So, I finally broke down and bought sturdy carbon fiber tripods.
Supports don’t have to be tripods. They might be a fence post, a tree, a c-clamp with a tripod head attached to it, clamped somewhere near a bird nest, etc.
Closely related to sharp focus is depth of field. This is a term used to describe the amount that is in sharp focus, from front to back. Sometimes you want everything in focus. Other times you want to isolate the subject and have it, or a portion of it, in sharp focus, with soft focus in the background.
The lens choice and the f/stop used impact the depth of field. Wide angle lenses, by their nature, have good depth of field, while a long telephoto lens, by its nature, will have a shallow depth of field. Within any lens, fine-tuning depth of field can be done by changing the aperture. A wide open aperture has a shallow depth of field, while a small aperture has a greater depth of field.
To throw you a curve, the sharpest focus of any lens is typically in or near the center of the f/stop range. The f/stop range for a lens might be f/2.8 to f/22. By going to f/22 you have the greatest depth of field. However, f/8 or f/11 might be sharper. Yes, there will be less depth of field. But the quality of the sharpness will typically be sharper at this mid-point f/stop than when it is set at its limit.
F/stops sound complicated, but you benefit from knowing what they do. In general, they are measurements of light. Envision a curtain in front of a window. When the curtain is wide open, that compares to an aperture in the lens that is wide open (low number like f/2.8). When it is nearly shut, that compares to an f/stop that is a small aperture (high number like f/22).
Full stops of light have numbers like f/1.4, f/2, f/2.8, f/4, f/5.6, f/8, f/11, f/16, f/22, f/32. A full stop is a jump from a neighboring stop of light that is either double or half of the neighboring stop of light, depending if you are going wider or tighter with the aperture. (It is common to use third stops and half stops of light, for finer exposure adjustments. This is why some f/numbers you see are not one of these full stop numbers. F/4.5 and f/6.3 are examples.)
As you bring your artistic eye into your photo, you will decide just what it is that you want sharp, and what it is that you want soft. (The aesthetic quality of blurred area is called bokeh, or boke.) Then you will choose a lens and aperture that help you attain your goal.
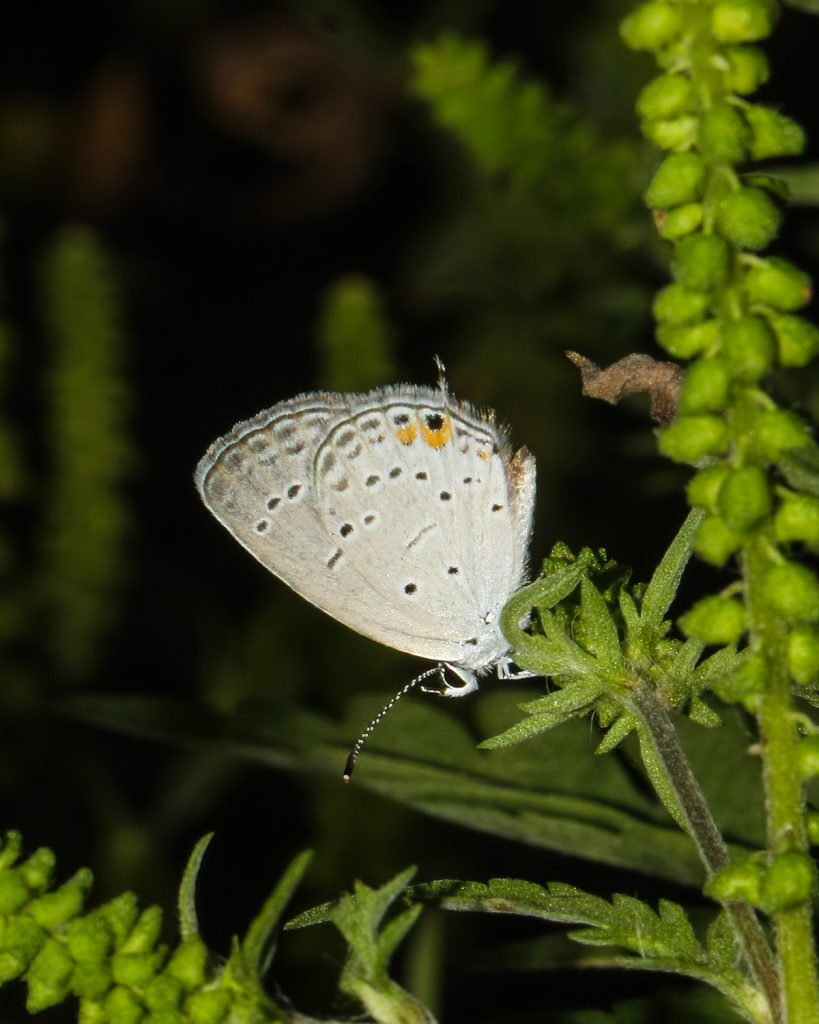
A quick example could be a wildflower. It isn’t going to run away. You can get close and use your wide angle lens, and you might want to if you want that look. But if your goal is to isolate the blossom from the background and only have the blossom in sharp focus, you may want to use a telephoto lens or macro lens. Open the aperture wide and enjoy a sharp blossom in front of a soft background.
Lighting is important. Some lighting terms include:
- high key photo (light on light colors)
- low key photo (dark on dark colors)
- separation lighting (rim, blacklit)
- catchlight
- narrow lighting
- broad lighting
- split lighting
- soft light (shade or diffused/bounced flash)
- harsh light (sunlight, or direct flash)
- golden hour light
- blue hour light

I like separation light—also called rim lighting or back lighting. This term is often used in portraiture, and has a lot of value to separate the hair and shoulders from the background. But it has application in nature photography too. An easy way to observe this light is to have someone with dark hair and clothes stand in front of a dark wall or background. Notice how the face shines and the dark hair and shirt get lost against the dark background.
Next have the person step in front of a window that is letting in diffused light. You can still place a dark background behind the person, just do not block the light striking the hair. Notice how the hair lights, up showing its contour as well as its texture. Also a rim of light wraps the shoulders to show the outline as well as the folds in the fabric. Over-poweringly bright backlight will wash out detail, which you may not want.
In nature, it might be back-lighting on an animal or bird. That separation light brings quality to the picture many times, but is not typically something you can readily change. But when you can, or when you see the opportunity, capturing it can be valuable.
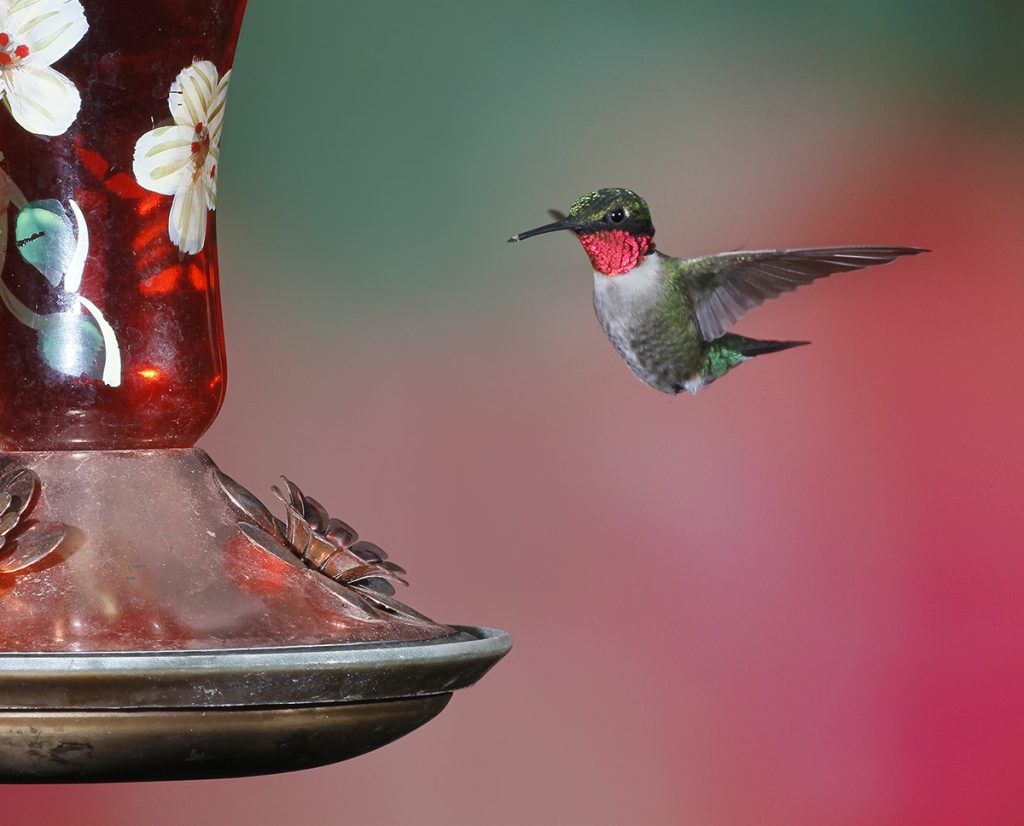
A catchlight is a sparkle in the eye of the subject. Eyes almost always benefit from a catchlight. Make it happen every time you can. This could be from natural light, flashed light, or bounced light.
Narrow, broad, and split light are terms typically used in portraiture. To understand them, consider that a setup includes a main light on one side of the person, while a fill light of lesser power is on the opposite side of the person. If the person is sitting on a stool facing the camera, and a shadow from the main light splits the bridge of the nose, with half the face more brightly lit and half less so, that is split lighting. Typically you don’t want this look.
For narrow lighting, have the person turn on the stool to face the main light; then bring the eyes back to look toward the camera. In this setup, the face shows one cheek and not the other so much. The visible cheek will be in shadow. The narrow lighting term comes from the narrow vertical illumination that meets the shadowed cheek. Lighting in this way is usually preferred.
Broad lighting happens when the person turns on the stool to face the fill flash, and then brings the eyes back to look into the lens. The visible cheek in this setup is flooded with the bright light.
Soft light can be shade. An exercise you can do on a sunny day when the sun is high overhead is to have someone stand in front of a shade tree, but in the sunshine, and look at their eyes. They are raccoon eyes, as there are deep shadows from the eye sockets. Now have them back up under the overhanging branches of the tree, and watch as the raccoon shadows disappear and beautiful catchlights appear. This is because the top light is blocked, forcing soft light to come in from the front.
You can also manipulate light as you photograph a flower. An opaque cardboard could be used to cast a shadow. A translucent shower curtain could be used as a diffuser. A white board could be used to bounce a splash of light onto a flower in shade to softly illuminate it. An aluminum surface can bounce harsher light onto a subject.
Even if you are not a portrait photographer, learning quality lighting and making use of that in your nature photography when you can will add art to your photos.

Golden hour light happens at first/last rays of sunshine. The sun shining through the extra atmosphere provides a fleeting opportunity to capture some really fun golden color in your photos. Blue hour light is right before/after sunrise/set.
Composition is another important component. The rule of thirds divides the composition into thirds both directions. Placing subjects on these third lines is often more powerful than symmetry. The subject could be a tree, a structure, an animal, the horizon line, and so on.
Leading lines can take the viewer’s eyes to the subject, while poor use of lines can take the viewer’s eyes out of the photo.
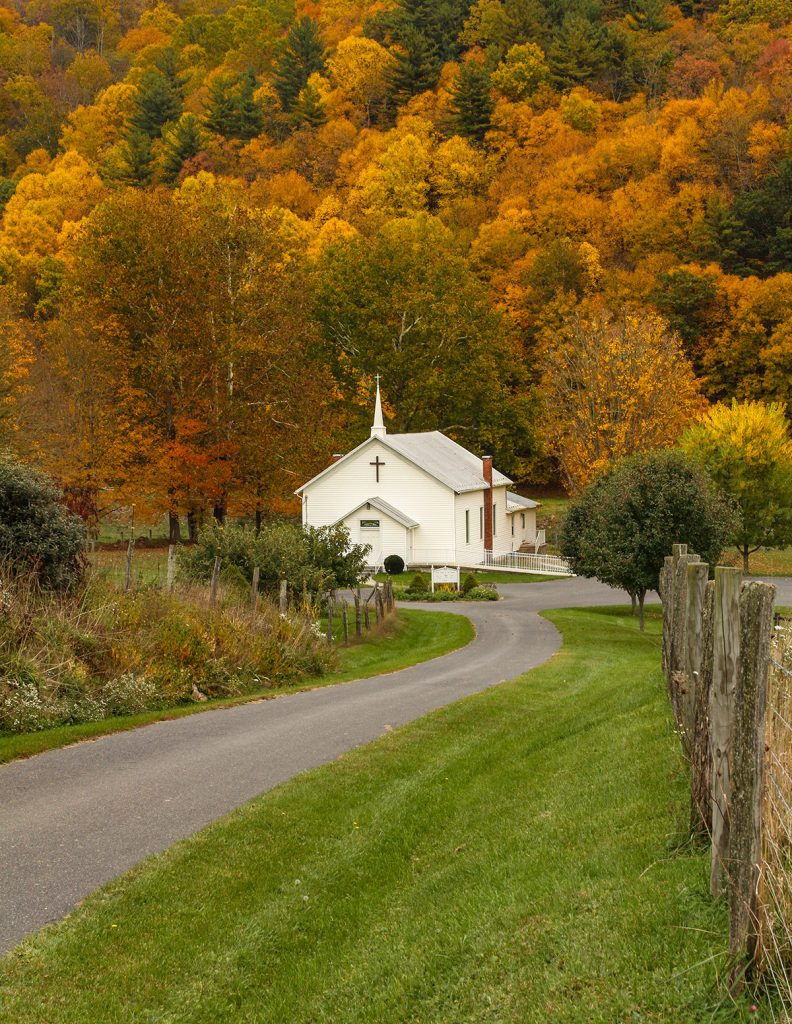
When shooting an ocean scene, always have the water horizon level. If not shot level, at least crop it level in post processing.
Choosing whether the composition best lends itself to horizontal or vertical orientation should not be overlooked. Shooting both gives choices later. Cropping in post can be done too. But don’t overlook the value of choosing in the field. Many people, it seems, forget that tipping the camera vertically is desirable to do at times, and shoot everything horizontally.

There are worm’s-eye views (low looking up), bird’s-eye views (high looking down), and eye-level views. All have potential, but generally speaking, eye-level is valuable and often overlooked. A tripod-mounted camera at chest height is not a bird’s eye view of a butterfly on a daisy. It is a cheap composition that would have benefited if the photographer had lowered the tripod to a foot off the ground and shot straight into the butterfly.
Now study the example photos. How many principles discussed here do you see?