


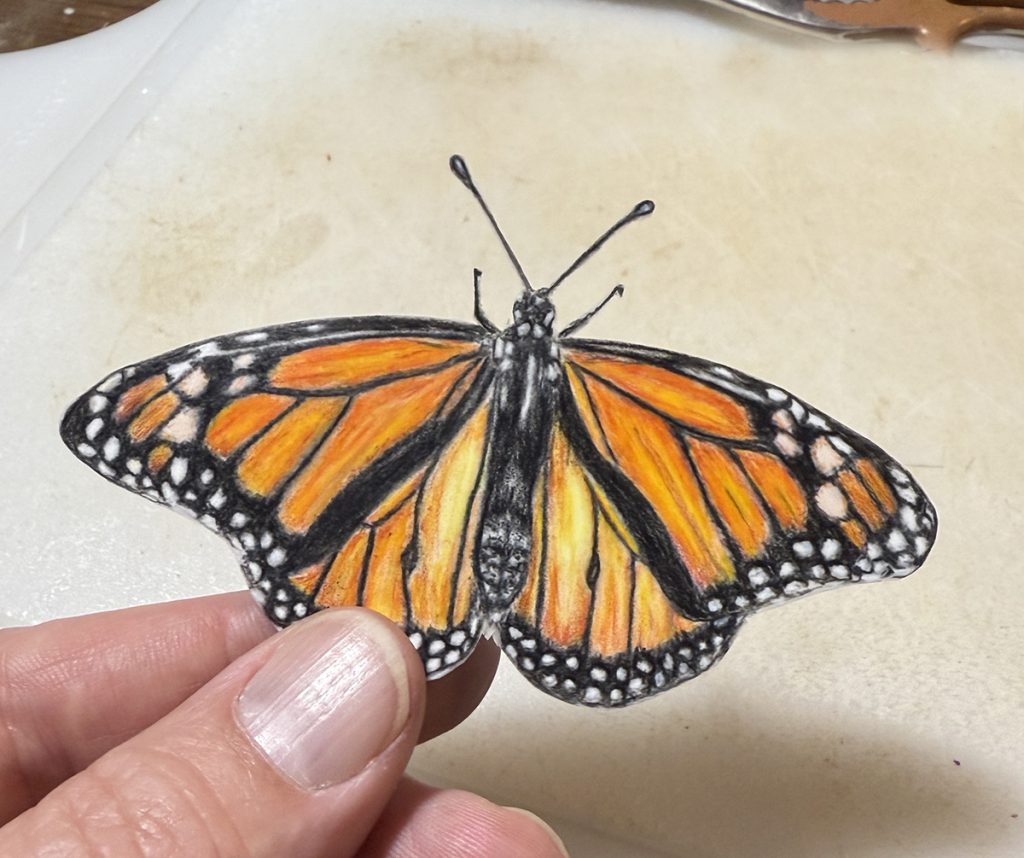
Shortly after the August issue went to print, in which Steven Smith taught how to make a 3-D resin bloom in a coaster, I saw still another unique project he made. This one had a monarch butterfly (art) on a flower blossom (silk) among ferns (natural, dried). The result was simply amazing to me. This was the nudge I needed to tackle art again—something I haven’t done with pencils for forty-plus years.
After selecting photos of the chosen butterflies, I made them life-size in the computer and flipped them 180° horizontally for a reverse to the orientation I wanted the final butterfly to be.
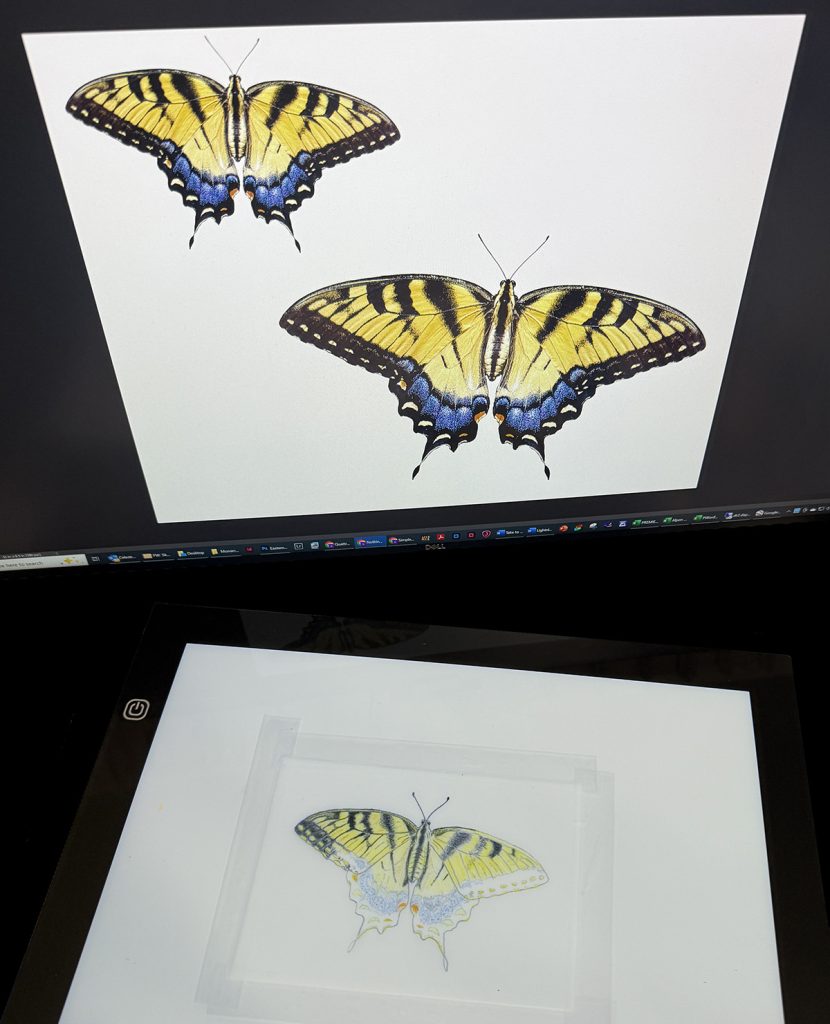
Next, I printed the butterfly and taped the picture on an LED light box. For the paper I would draw on, at Mr. Smith’s recommendation, I used two-sided Grafix drafting film .005” thick. I bought this film at DickBlick.com, as I couldn’t find any in town.
After carefully tracing the outline of the butterfly and the patterns on the wings, I removed the background picture, flipped the film over, and taped the film back onto my light box. The beauty of this is being able to work the colors of the butterfly without smudging the outlines as I worked. Also, the light box, when off, gives a white background on which to work. However, if I wanted to see an outline better, I could turn the light on to see it more clearly.
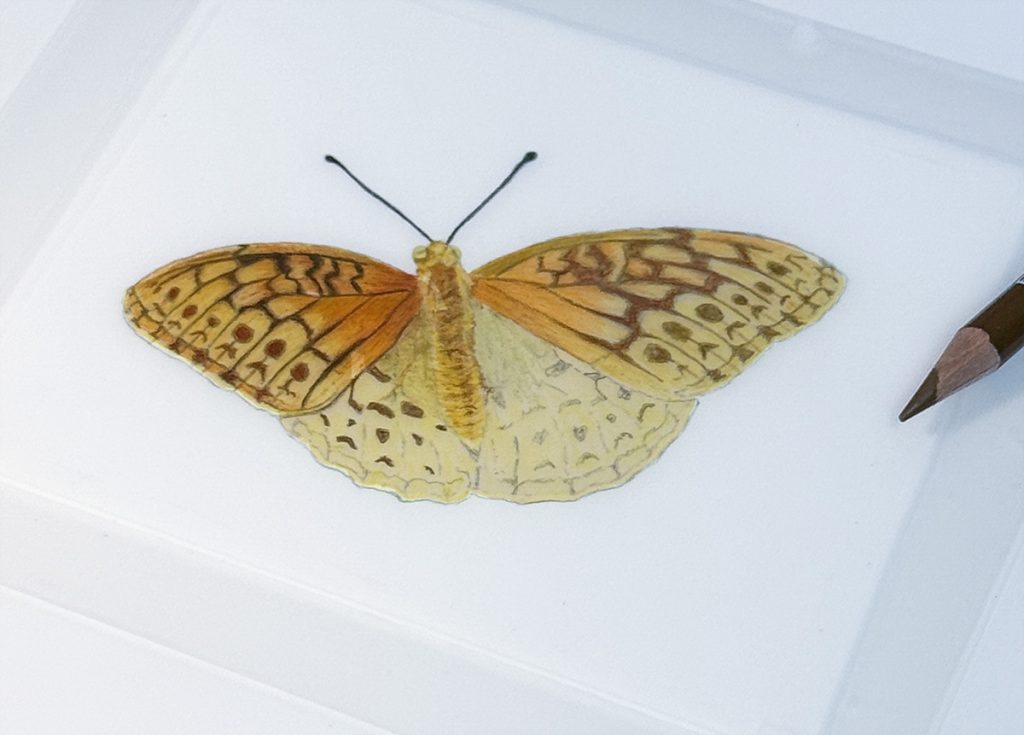
Using Prismacolor pencils, I layered in the colors, beginning with the lightest tones and working toward the darkest. To strengthen the blue tones on the female tiger swallowtail, I mixed a blue mica powder into a small amount of resin and painted it on the wings with a tiny artist’s brush. This gives the blue more shimmer than can be achieved with a color pencil.
After the blue-colored patches on the wings were dry, I turned the butterflies over and painted white over the back side of each picture, being careful to keep back from the trim edge a sixteenth of an inch or so. I did not want to see any white edge once the butterfly was cut out.
The white backing keeps the colors of the wings vibrant. If this is not done, the translucent material will allow any dark colors behind the butterfly to mute its colors. That is not what you want.
The supplies I purchased for this project were recommended to me by Steven Smith, and included Puduo epoxy resin kit, TACOLO fabric flower heads, silicone tray molds, CHANGTIKEJI mica powder 24-color kit, and TWINKLING high-luster crushed gold glass chips. A heat gun is also needed in the process, as well as a dull pencil, and rubbing alcohol for clean-up. Oh yes, I also bought artificial ferns and some birch wood pieces so I could peel off the bark.
It was time for a little vacation. Our plan was to visit friends in Ohio and also take in a music program in which Allen was singing. Delightfully, Steven Smith was only an hour away. He was happy to help us pour the actual plates.
We set up a table and placed our three plate molds on it. Mr. Smith used a small level to check each mold to make sure we were level. This would be important when we did the pouring.
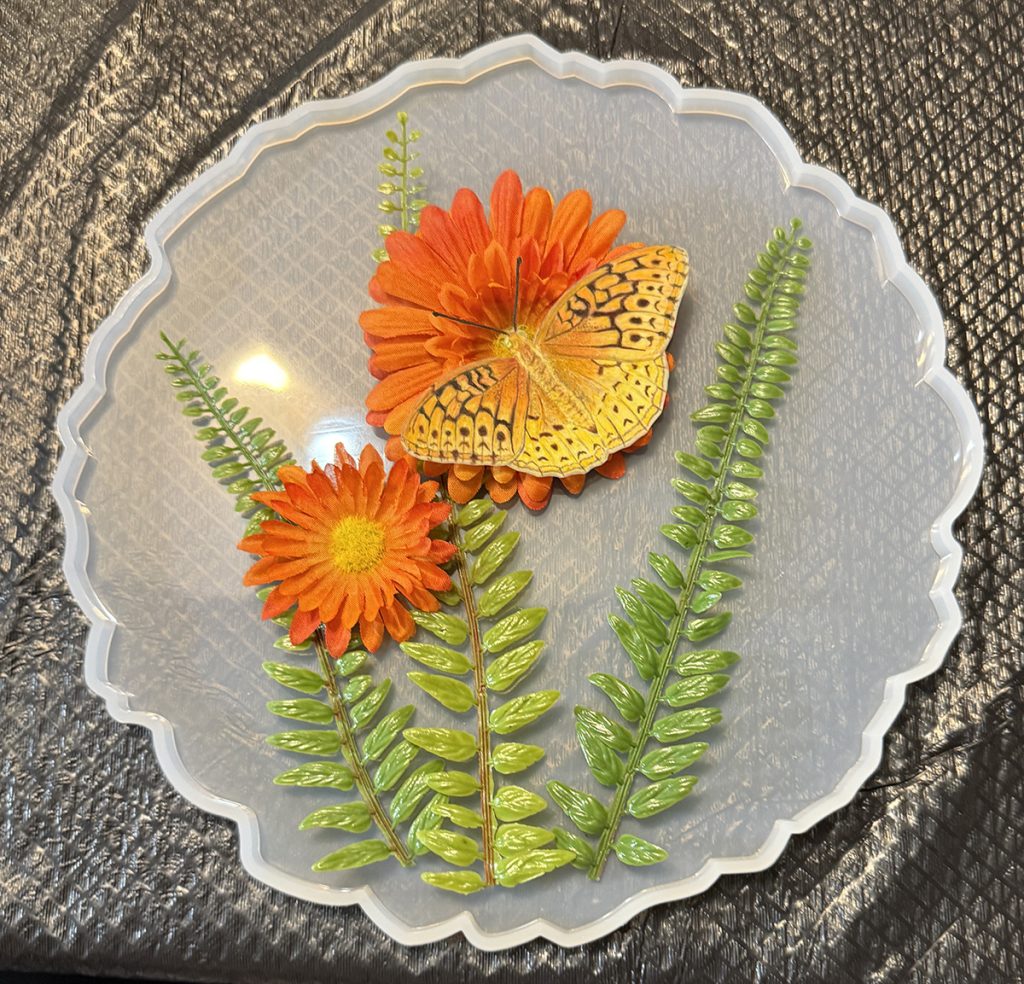
Next Cheryl, Adrian, and I spent time arranging our flowers, ferns, and butterflies. Cheryl and Adrian used gold chips to provide a base for their fern fronds. I wanted birch bark instead of gold chips to soften the edges of mine. At first we were not sure I could use the bark. It was too curled. To try to make the bark useful, I began by making the piece smaller. I folded and tore naturally without making artificial cuts. The bark still cupped a little much. We placed it between paper towels and ironed it briefly. Some of the pieces of bark curled, but two became remarkably flat—I would use them.
First a piece of bark went into my mold, then the ferns and flowers. The second piece of bark went in on top of the fern stems.
Cheryl epoxied gold chips to the center of her flower to cover up a poorly-colored center. Adrian and I did not.
Five-minute epoxy was mixed up, and the high spots of the flowers under the butterflies received a few dabs so the butterflies would stick to the flowers. Things in the resin try to float around, so this glue would lock down our butterflies.
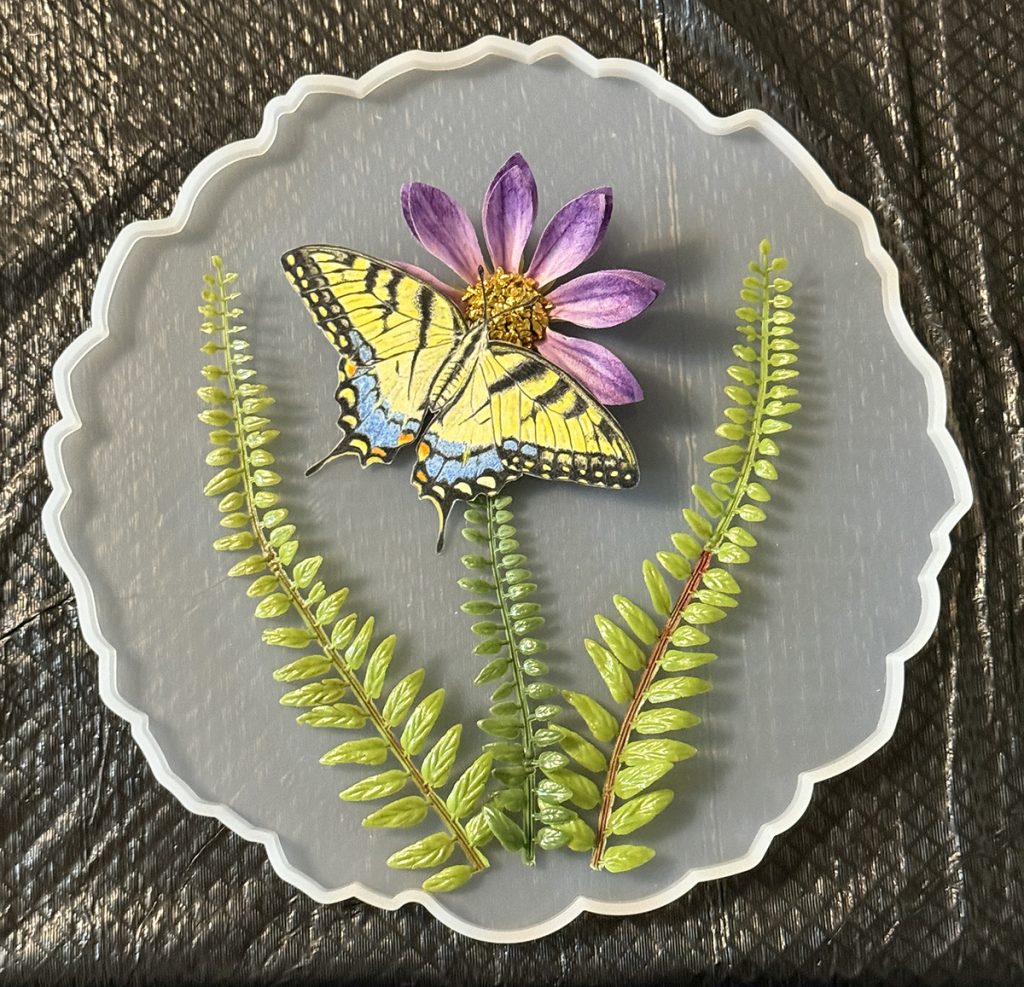
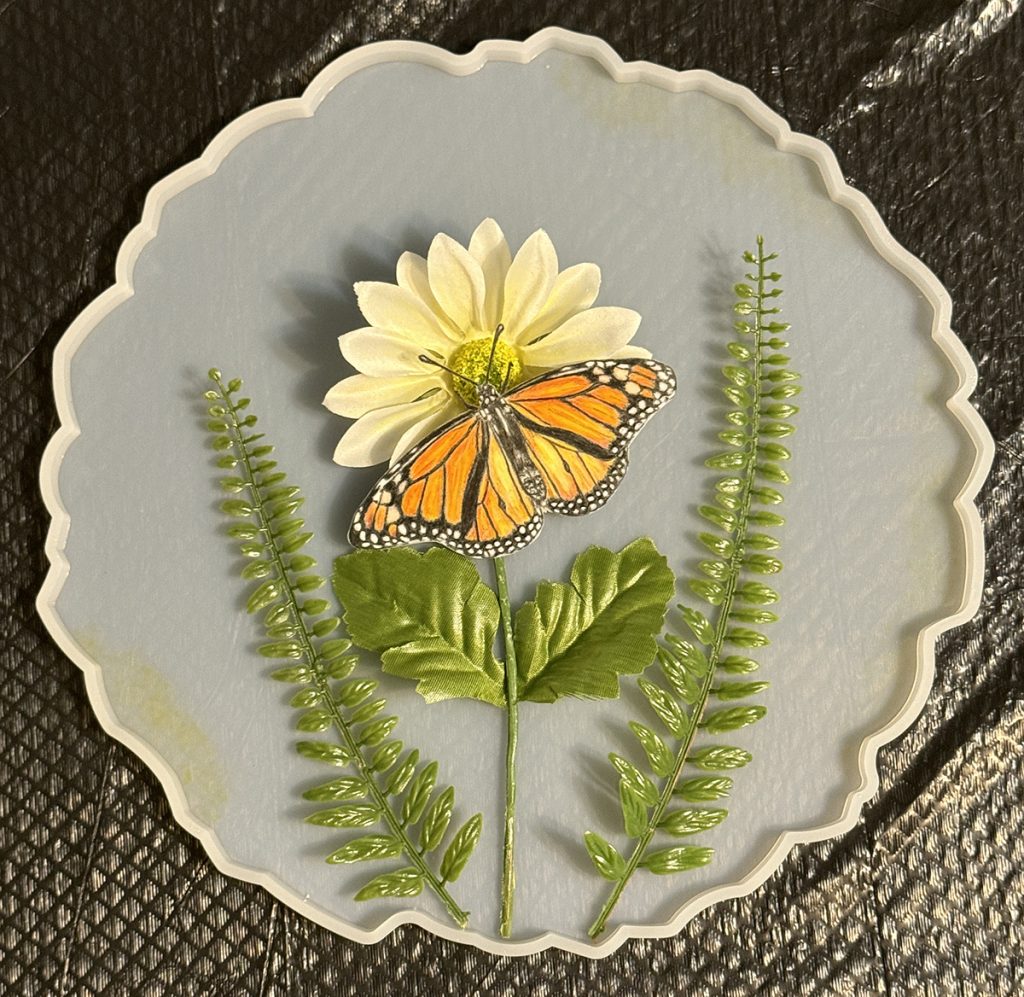
We poured at/maintained 72°. Humidity should be consistent, preferably 50% or less, definitely less than 80%. Photo © Dogwood Ridge.
Mr. Smith warmed the resin in hot water for a few minutes, and then we measured out 7 ounces each of the two parts and stirred them together well. We did this in three measuring cups, one cup per plate. Tip: Use a silicone spatula for a stir stick. It won’t shed wood pieces, and the cleanup is easy, as the resin does not stick hard to silicone.
The resin was poured in circles around the mold, and it spread out over everything. We used the heat gun on the low-power setting to pop the air bubbles at the surface of the plate. With dull pencils, we pressed leaves down to force trapped air bubbles out. We also used them to work low lying air bubbles up to the surface where they could be popped with the heat gun. Mr. Smith tipped us off to pay special attention to air bubbles at the edges of the mold. They would become pockets on the plate edge if they did not get removed.
After about an hour of working air bubbles, the plates were left to dry. Step 2 would take place 9 hours after first pour, namely 2:30 a.m.
At 2:30 we removed the plates from the silicone molds. The resin was formed but still pliable. We transferred the plates to what I call popcorn bowls. The bowls we used are the perfect size for converting our projects from the flat molds into a plate shape. The plates were centered in the bowls, and the center of the plate was pressed to the bottom. While holding the plate down with one hand, we pressed the plate to the bottom all the way around, not just in the center of the plate. On the plate, we placed a microfiber cloth and then another two inches or so of soft fabric. On top of the fabric, we placed five-pound weights from a barbell set.
These weights remained on the plates for forty-eight hours from the time of the initial pour. After that, we removed the weights and mixed up another seven ounces of resin per bowl. We poured this into the bottom of the plate to thicken the resin and to cover anything that had floated to the surface and was sticking out a bit.
One thing we did to Adrian’s flower before this last pour was to mix gold mica powder in 5-minute epoxy and coat the green/yellow flower center. This made it appear pollen-colored and was a good fix for something that ideally would have been done before the first pour. The fact that his flower stuck out of the resin at this stage allowed this “catch-up strategy” to work. My plate with the red flowers should have had this done also, but after the first pour, my flower center under the butterfly was completely covered and I could not reach it any longer. Mine would stay just as it was originally.
The last step is to use a gold pen and put a gold rim around the edge of the plate if you wish. I haven’t done that yet to these plates, but I hope to at some point.