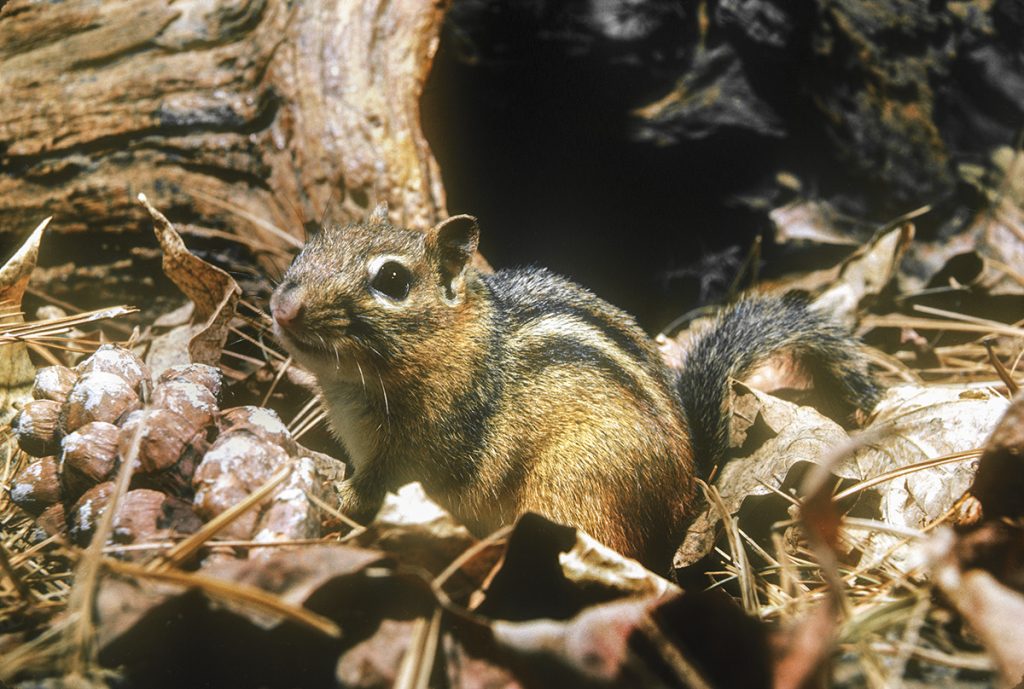
The frisky little chipmunk paused by a log to eat a morsel of food. From only two or three feet away, I was clicking photos of the rambunctious chipmunk! I had only recently begun to take nature pictures and had never yet photographed a chipmunk.
The opportunity arose when friends rescued the chipmunk from their cat. To get the photos, we placed the chipmunk in a studio I had built for small animals and snakes.
This studio is shaped like a piece of pie. The narrow end of the “pie” has two trapdoor-covered holes through which a camera lens can be inserted. To take photos, I can uncover either the high hole or the low hole, depending from which angle I want to photograph.
The trapdoor has two sections that can be raised vertically. Having two sections is important for times when the top hole is being used for photography. The bottom camera port can remain covered by the lower door so critters don’t escape through that camera port while the top port is in use.
To hold up the door of choice, I use a short stick that is just long enough to raise the door above the camera port. The stick has a clothespin tied to it with a three- or four-foot string. When the door is open, I clip the clothespin to my shirt. If I need to walk away and forget to first lower the trapdoor, the stick will be yanked out and the studio will automatically close.
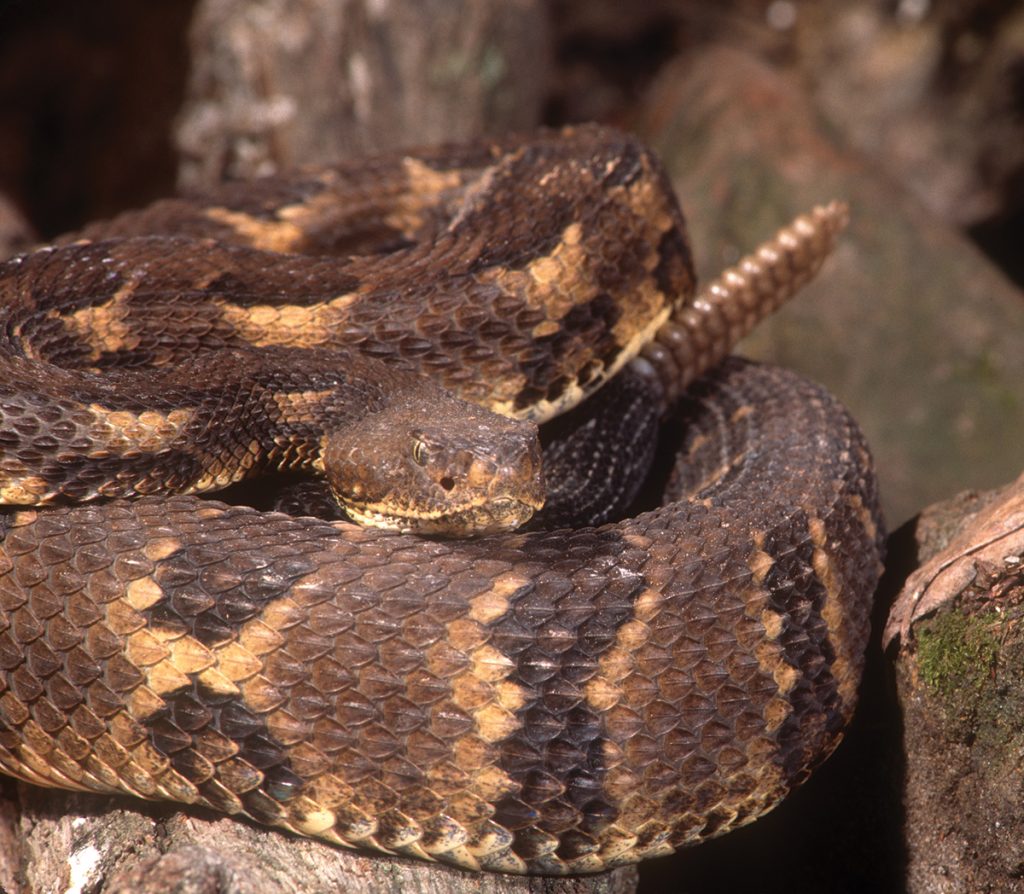
It may have been when I was photographing a rattlesnake that this tip came to mind. While the studio provided safety for photographing the snake at close range, I didn’t want the snake coming out if I needed to make a hasty retreat or otherwise got distracted from what I was doing.
My studio is constructed on a plywood base. The back is also plywood, as well as the front trapdoors. The top is a frame covered with window screen, and the sides are Plexiglas. Plexiglas sides enable me to use electronic flashes or sunlight to illuminate the subject. The studio is 5 feet (1.5 m) long, 30 inches (75 cm) high, and 4 feet (1.2 m) wide across the back. The front side with the camera ports and trapdoors is 10 inches (25 cm) wide. The pie shape is valuable since it keeps the subject being photographed in front of the camera.
The top is removeable. To prepare the studio for a critter, I start with a layer of dirt, then create a natural setting from there. Stumps, moss, pine cones, rocks, and even plants are used to make the setting natural. Just don’t do what I did once and “plant” poison ivy in the soil for some green color. I found out that looks too natural….
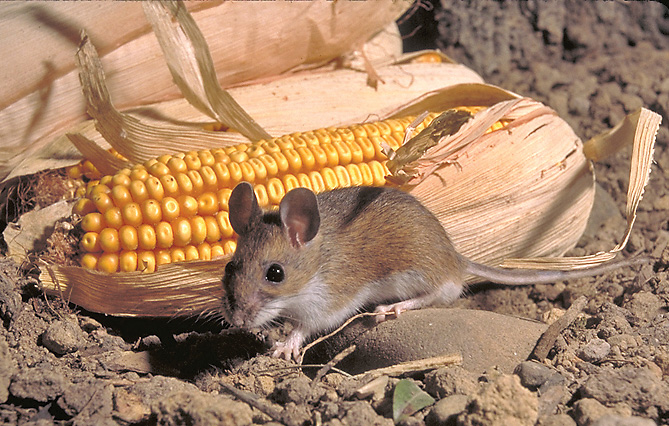
Besides the chipmunk and rattlesnake, I have used the studio to photograph an Eastern milk snake, mice, and even a small gray fox pup. The fox pup had gotten into a box trap intended for a skunk, so he was put into the studio for a few photographs.
Even though the studio does a lot to protect from danger, an abundance of caution and adult supervision should always be used when handling a wild animal. For example, to handle the rattlesnake, I used a snake tong.
Consider, too, applicable wildlife laws. Do not keep a wild animal in captivity when it is illegal to do that.