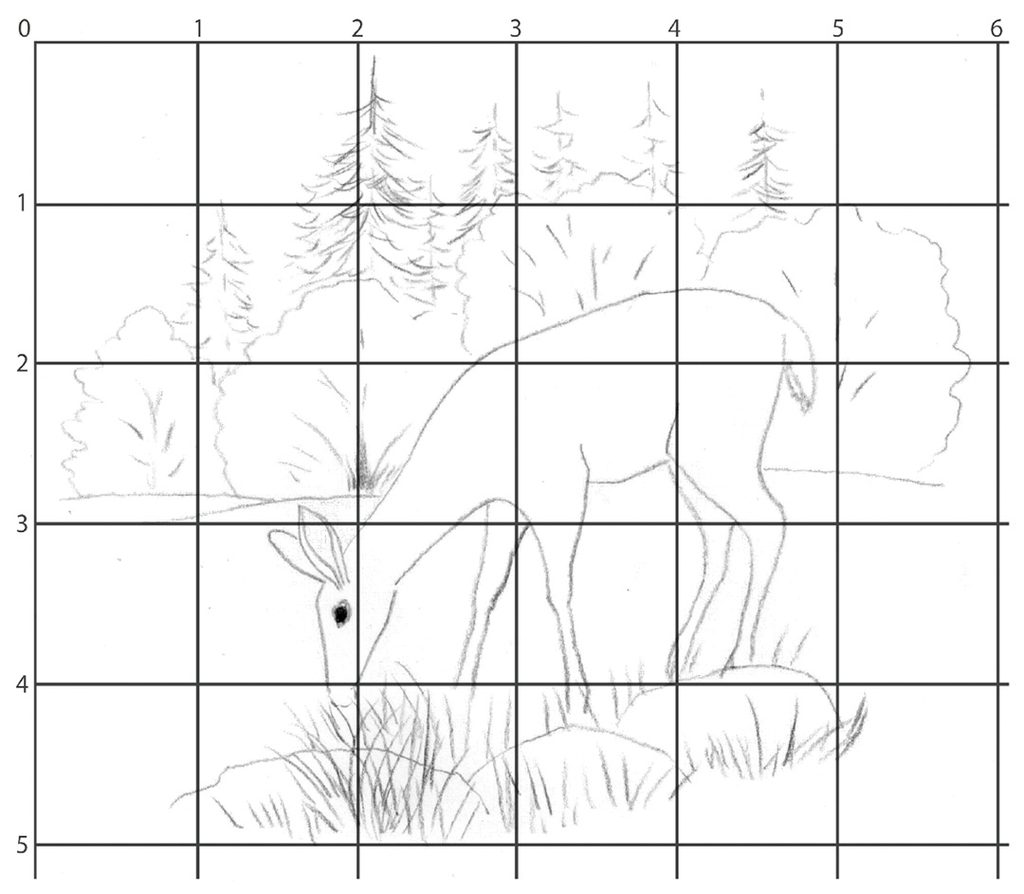
Lightly mark your regular paper with grid squares. Number like your guide sheet shows. Begin drawing, square by square. When you are finished and satisfied with your sketch, trace over your lines with a fine-tip marker. Then place cardstock over this, and lightly trace with pencil colors each object of your picture with the color it should have.
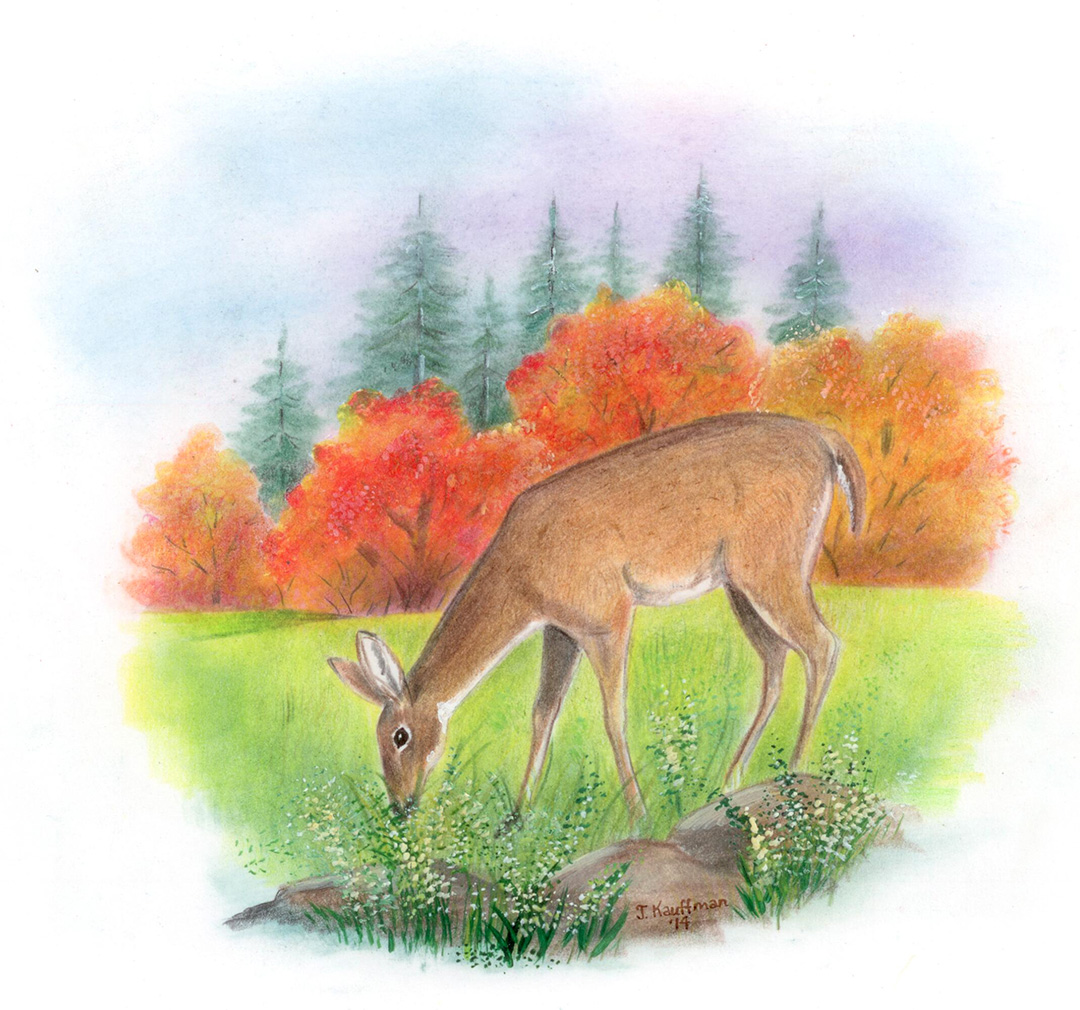
Place foam sheet under your drawing. With an underhand grip, very lightly color doe in layers of brown, burnt ochre, goldenrod, orange, and a bit of black in a few places. I did the eye with the fine-tip black marker.
Swab in a bit of blue and purple for the sky. The background trees were done with chalks and old, scruffy brushes, plus some deeper color with pencil colors. The evergreens further back were done using a chisel tip of a #4 paint brush and black and dark green chalks. Do them with quick, back-and-forth pounces. (With chalks, blow off excess. Do not rub it off!)
The grassy field uses olive green, spring green, and yellow. The darker green and grasses close to the doe are applied using dark green pencils and some paint. Brush stippling with paint creates the seed heads for the grass.
Keep studying your guide picture. Does your drawing need more darkness in places? An old, scruffy brush with chalks helps. For sharpness in details in the doe, use a hard surface. The doe needs to “stand out,” while the background trees should be more soft and fuzzy. Here a little, there a little. Have someone look it over and give advice. Then finally it needs to have one l-a-s-t stroke, and you’re done. Good job! (A clear fixative spray prevents chalk from smudging.)